Doors and Windows in Revit: Complete Guide from Placement to Custom Families
Doors and windows in Revit are not just architectural openings; they are intelligent BIM components that define circulation, lighting, ventilation, safety, and coordination across disciplines. Correctly modeling doors and windows in Revit improves drawing accuracy, schedules, quantities, and construction coordination.
This guide covers everything from inserting doors and windows into walls to creating custom families and controlling size, type, and placement rules using professional BIM workflows.
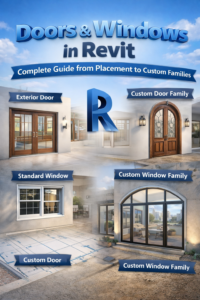
Understanding Doors and Windows in Revit
Doors and windows in Revit are host-based families, meaning they must be placed inside a host element, typically a wall. Unlike basic CAD blocks, these elements carry data such as dimensions, materials, fire ratings, and swing directions.
Why Doors and Windows Matter in BIM
In BIM workflows, doors and windows are used for:
-
Floor plan and elevation documentation
-
Schedules and quantity takeoffs
-
Coordination with structural and MEP models
-
Visualization and rendering
-
Code compliance (clearances, egress, accessibility)
A poorly modeled door or window can cause clashes, incorrect schedules, and approval issues during construction.
Inserting Doors and Windows in Walls
Placing doors and windows in Revit is straightforward, but professional accuracy requires understanding levels, wall types, and placement rules.
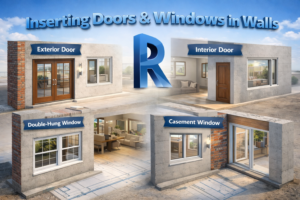
Basic Steps to Insert Doors and Windows
-
Go to Architecture → Door or Architecture → Window
-
Select the desired family and type
-
Hover over a wall until the preview appears
-
Click to place the element
-
Adjust alignment or flip orientation if needed
Doors and windows automatically cut the wall, which ensures proper openings in plans, sections, and elevations.
Level and Host Control
Doors and windows are associated with:
-
Base Level (for doors)
-
Sill Height (for windows)
-
Host Wall Type
If a door or window does not appear, it is usually due to incorrect level association or view range settings.
Common Placement Issues and Fixes
-
Door not visible → Check view discipline and detail level
-
Window floating → Verify sill height and wall constraints
-
Wrong swing direction → Use flip controls or properties
Editing Size, Type, and Placement Rules
One of the strongest features of doors and windows in Revit is the ability to control them through types and parameters instead of manual resizing.
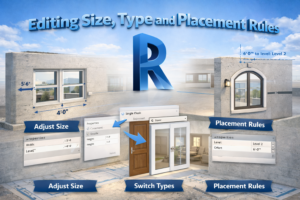
Instance Parameters vs Type Parameters
Understanding this difference is critical:
-
Instance Parameters affect only one selected element
-
Sill height
-
Mark
-
Comments
-
-
Type Parameters affect all elements of that type
-
Width
-
Height
-
Frame thickness
-
Changing type parameters updates all similar doors or windows throughout the project.
Resizing Doors and Windows Correctly
Never scale doors or windows manually. Instead:
-
Select the element
-
Go to Edit Type
-
Duplicate the type
-
Change width and height values
This maintains BIM integrity and keeps schedules accurate.
Placement Rules Professionals Follow
-
Doors should align with floor finishes
-
Windows should respect sill heights and ceiling lines
-
Openings must align vertically across floors where required
-
Door swings must not clash with furniture or circulation paths
Creating Custom Door and Window Families
Standard libraries often do not meet real project requirements. Custom families allow you to match local construction standards, client preferences, and manufacturer details.
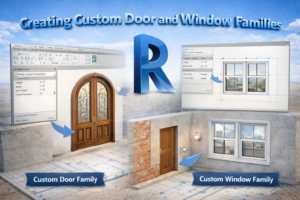
When You Need Custom Families
You should create custom doors and windows in Revit when:
-
Local sizes are not available
-
Unique shapes (arched, sliding, folding) are required
-
Manufacturer-specific details are needed
-
Performance data must be embedded
Starting a Door or Window Family
-
Open New Family
-
Choose the correct template:
-
Door.rft for doors
-
Window.rft for windows
-
-
Set reference planes for width, height, and thickness
-
Add parameters before modeling geometry
Importance of Reference Planes
Reference planes control:
-
Resize behavior
-
Alignment with hosts
-
Flexibility during project changes
Without proper reference planes, families break when dimensions change.
Parametric Control in Custom Families
Professional doors and windows in Revit are fully parametric, meaning they adapt automatically when dimensions change.
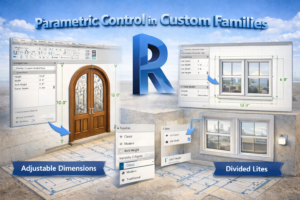
Adding Parameters
Typical parameters include:
-
Width
-
Height
-
Frame depth
-
Panel thickness
-
Glass material
Parameters can be:
-
Type-based (standard sizes)
-
Instance-based (project-specific adjustments)
Linking Geometry to Parameters
All geometry must be locked to reference planes and labeled with parameters. This ensures:
-
Clean resizing
-
No geometry distortion
-
Stable performance in large projects
Testing Family Flexibility
Before loading a family into a project:
-
Change width and height values
-
Test extreme sizes
-
Check opening cut behavior
-
Confirm visibility in plan, elevation, and 3D
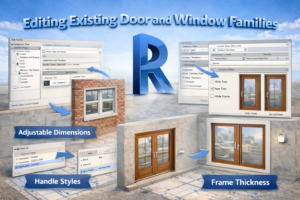
Editing Existing Door and Window Families
Often, you do not need to start from scratch. Editing existing families saves time.
Modifying Standard Families
You can:
-
Open the family in Family Editor
-
Add or remove parameters
-
Change materials
-
Adjust symbolic lines for plan representation
Controlling Visibility Settings
Visibility parameters allow:
-
Simplified plan symbols
-
Detailed 3D geometry
-
Separate coarse, medium, and fine detail levels
Best Practice for Edits
Always:
-
Save edited families with a new name
-
Avoid overwriting original library files
-
Maintain consistent naming conventions
Door and Window Scheduling in Revit
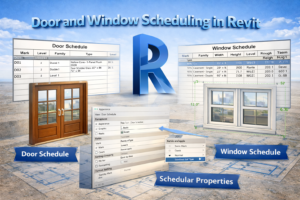
Doors and windows in Revit are powerful because they automatically generate schedules.
Creating Door and Window Schedules
From the View tab, you can create:
-
Door schedules
-
Window schedules
-
Combined opening schedules
Schedules can include:
-
Size
-
Type
-
Fire rating
-
Comments
-
Level
Using Schedules for Quality Control
Schedules help you:
-
Detect missing doors or windows
-
Identify size inconsistencies
-
Verify design intent
-
Coordinate with consultants
Linking Schedules with Design Changes
Any change in the model updates the schedule automatically, reducing errors and manual revisions.
Best Practices for Doors and Windows in Revit
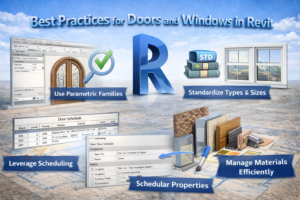
Modeling Standards to Follow
-
Use consistent naming conventions
-
Avoid excessive family types
-
Keep geometry lightweight
-
Follow local building codes
Performance Optimization Tips
-
Avoid unnecessary 3D details in doors and windows
-
Use symbolic lines for plan views
-
Keep materials simple unless rendering is required
Coordination Across Disciplines
Doors and windows affect:
-
Structural openings
-
HVAC airflow
-
Lighting calculations
-
Fire and safety planning
Accurate modeling ensures smooth coordination.
Common Mistakes to Avoid
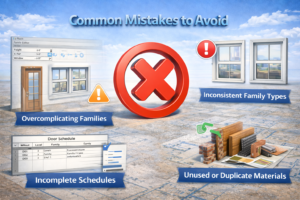
Frequent Errors
-
Stretching doors manually
-
Ignoring sill heights
-
Using incorrect wall hosts
-
Overcomplicating family geometry
How Professionals Avoid Them
-
Rely on parameters, not scaling
-
Test families before use
-
Follow BIM execution plans
-
Keep libraries organized
Conclusion
Doors and windows in Revit are far more than simple architectural elements. When modeled correctly, they become intelligent data-rich components that enhance coordination, documentation, and construction accuracy. From inserting doors and windows into walls to creating fully parametric custom families and controlling size, type, and placement rules, mastering these elements is essential for any serious Revit professional.
By following structured workflows, respecting BIM principles, and using parameters intelligently, you can ensure your door and window models remain flexible, accurate, and professional throughout the entire project lifecycle.