 If you’re new to Revit, creating floors is one of the first modeling skills you’ll use again and again. Floors tie the building together—literally—and understanding the different ways to create them will save you a lot of time as your project grows. In this post, I’ll walk through the basics of creating floors, the two main methods you can use, and how to control levels and thickness so your model stays clean and consistent.
How to Create Floors in Revit
Revit keeps the floor-creation process fairly straightforward. You’ll usually start in a plan view—Level 1 or Level 2—because it’s much easier to sketch and snap to walls from above.
-
Go to the Architecture tab.
-
Click Floor (Architectural).
-
Revit will take you into Sketch Mode, where you define the floor boundary.
-
When you’re done, hit the green Finish checkmark.
That’s it. Once the boundary is closed, Revit generates the floor instantly. If the edges overlap walls, Revit might ask if you want the walls to attach to the floor—either option is fine depending on your design intent.
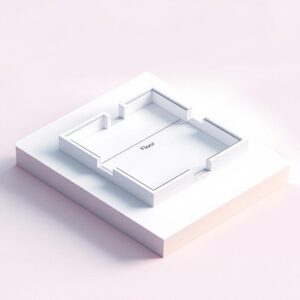
Two Ways to Create Floors: Pick Walls vs. Sketch Boundary
When you enter Sketch Mode, you’ll see several drawing tools on the ribbon. Out of these, two methods are used the most: Pick Walls and Sketch Boundary.
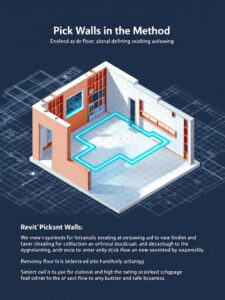
1. Pick Walls
Think of this as the “quick and clean” method. When your floor perimeter follows the shape of the building, you can simply click Pick Walls, then select each exterior wall. Revit automatically traces them for you.
This is handy because:
-
It’s much faster than sketching manually.
-
If you move a wall later and the boundary is locked, the floor updates with it.
-
It keeps the floor aligned perfectly with the walls’ finish faces or centerlines (depending on your settings).
This method is ideal for standard building footprints or repetitive levels where the floor edges match the walls.
2. Sketch Boundary
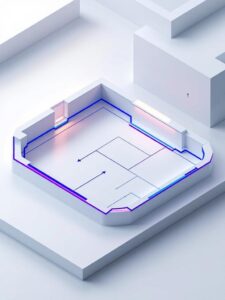
Sometimes your floor isn’t as simple as tracing the walls—balconies, cutouts, courtyards, steps, or irregular shapes. In those cases, the Sketch Boundary method is the way to go.
You can use straight lines, arcs, rectangles, splines—whatever you need. The only rule is that the boundary must form a closed loop before you can finish.
This method offers the most flexibility, so it’s perfect for custom geometry or places where the floor doesn’t match the wall layout.
Controlling Floor Levels and Thickness
Creating a floor is easy; controlling it properly is where good modeling habits come in.
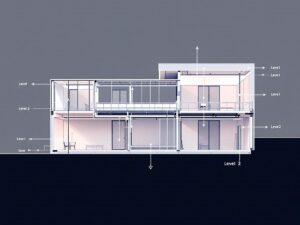
Floor Level
Every floor belongs to a Level in your project. After placing the floor, select it and look at the Properties palette:
-
Level tells you which floor plan it sits on.
-
Height Offset From Level adjusts how far above or below that level the slab sits.
For example, if you need the slab to sit 50 mm below Level 2, just set the offset to –50 mm.
Floor Thickness
The floor’s thickness doesn’t come from the sketch—it comes from its Type.
-
Select the floor.
-
Click Edit Type.
-
Choose Edit Structure.
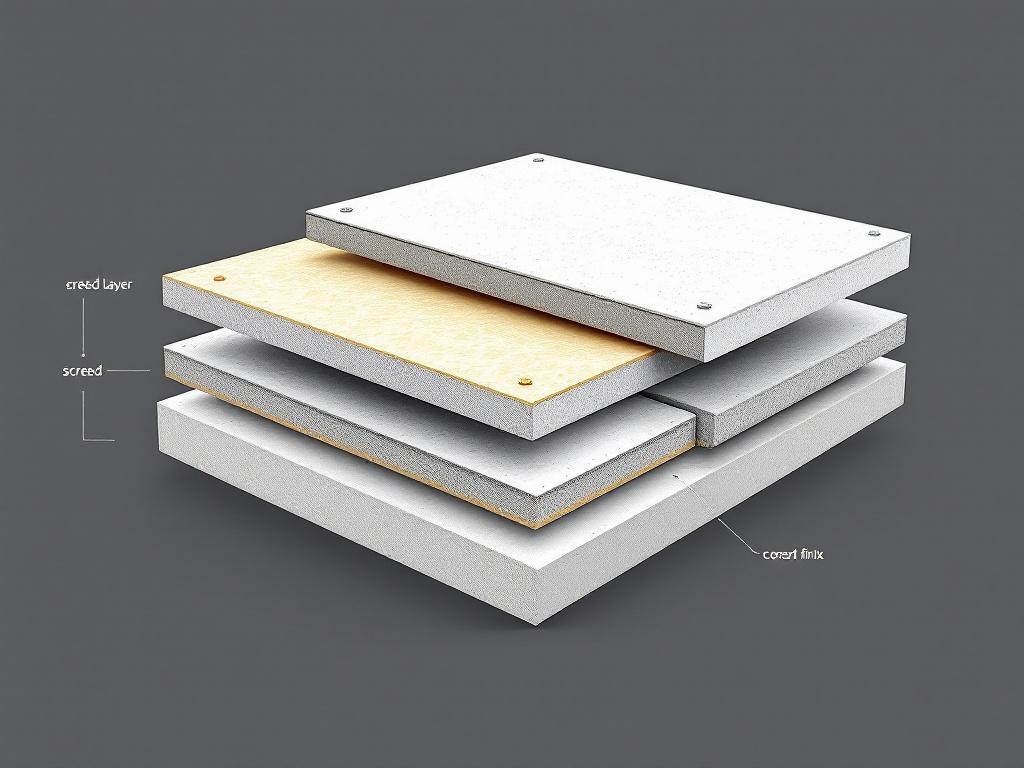
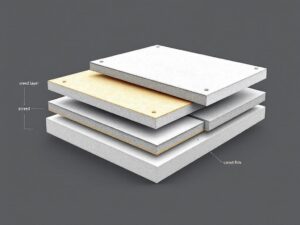
Here you’ll find the list of layers: concrete, insulation, toppings, finishes, etc. You can change the thickness of any layer or duplicate the type to create a new floor build-up. Structural slabs, architectural slabs, lightweight floors—each can have its own type.
This is where you control not only thickness but also materials, thermal layers, and structural behavior.
Final Thoughts
The floor tools in Revit are simple once you understand the workflow, but they’re also powerful. Whether you’re tracing walls for speed or hand-drawing complex shapes, Revit gives you full control over the design and construction layers of your building. Keep level assignment and floor types organized, and your model will stay clean, consistent, and easy to manage as the project evolves.
If you want, I can help you turn this into:
-
A downloadable PDF
-
A more conversational or more technical version
-
A step-by-step version with images or diagrams