How to Start a Revit Project from Scratch (Beginner’s Guide 2025)

If you’re wondering how to start a Revit project from scratch, it can feel intimidating at first, especially if you’re new to Building Information Modeling (BIM). However, when approached systematically, the process becomes intuitive and efficient. Every model element in Revit carries data, influencing how your design evolves from concept to construction. This guide walks you through the foundational steps — from template selection to families and collaboration — ensuring your first Revit project is well-organized, accurate, and professional.
Choosing the Right Template When You Start a Revit Project from Scratch
The first step in starting a Revit project from scratch is selecting the right template. A template determines your available tools, preloaded families, and project standards. Revit offers discipline-specific templates like Architectural, Structural, and MEP. For instance, the Architectural Template includes wall types, room tags, and material libraries, while the
Structural Template focuses on framing and analytical tools. Choosing the wrong template can lead to workflow inefficiencies — such as missing components or incompatible settings. Beginners should always align the template with
their intended discipline. For example, if you plan to design a residential building, start with the Architectural Template. This decision saves time, ensures consistency, and simplifies coordination as the project grows.
Setting Up Units and Levels in Your Revit Project Setup
After choosing a template, configure your units and levels. Revit 2025 allows full customization of measurement units from meters and millimeters to feet and inches depending on your project’s region or standards. For instance, European projects may use meters, while North American designs typically use feet and inches. Levels define your vertical structure — like floor heights, ceilings, or roof elevations. They form the backbone of your project. Establishing accurate levels ensures all future
elements, such as walls and floors, align correctly. Create separate levels for each building story, double-check their placement in elevation views, and name them clearly (e.g., Ground Floor, Level 1, Roof Level). Revit automatically generates floor plans for each level, reducing manual work and improving accuracy. For a detailed tutorial on working with levels in Revit, check Autodesk’s official guide.
Creating and Managing Grids
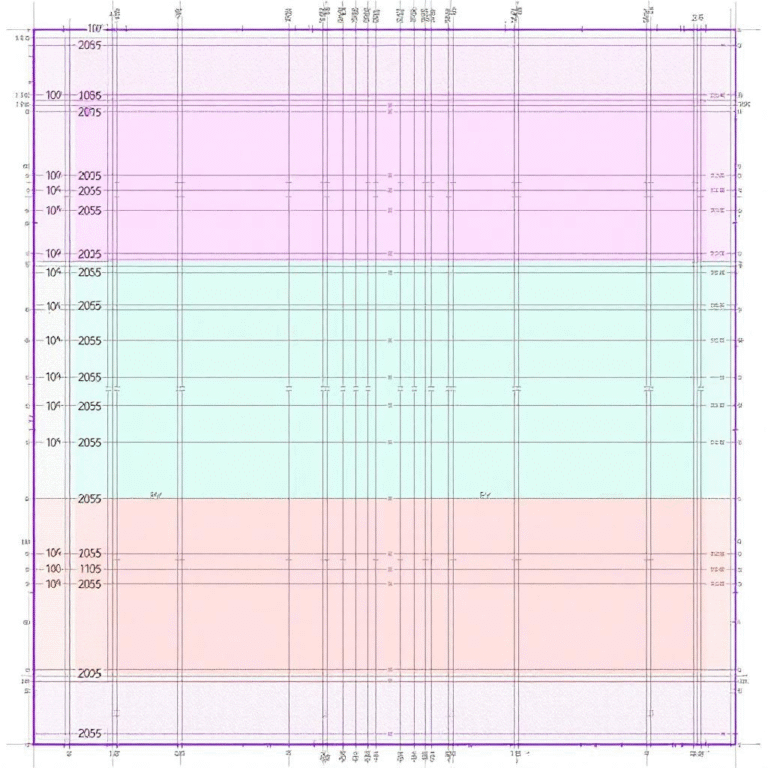
Grids are essential for horizontal organization and structural alignment in Revit 2025. Think of grids as your design’s reference skeleton guiding the placement of walls, columns, and beams. When setting up grids, space them evenly and label them clearly using numbers and letters. For instance, grid lines A, B, C might run horizontally, and 1, 2, 3 vertically. One major benefit of Revit grids is their dynamic behavior: moving a grid automatically adjusts all connected elements. This ensures precision throughout your project, especially during collaboration with structural or MEP teams. Even in small residential models, establishing grids from the start avoids future alignment issues and keeps your model clean and professional. You can learn more about grids and references in Revit.
Adding Core Building Elements
Once your framework is ready, you can begin modeling the actual building elements. Start with walls using your established levels and grids. Revit 2025 offers various wall types from insulated exterior walls to interior partitions and curtain walls. Each comes with embedded material and construction data that enhance both visualization and documentation. Next, create floors by sketching boundaries in plan view. Add columns and structural supports as needed. Then place openings like doors and windows Revit automatically aligns them with host walls and updates dimensions in real time. For beginners, the best approach is to work systematically: exterior walls first, interior divisions next, and finally, openings and details. This logical sequence ensures an organized, manageable project. For additional reference, see Autodesk’s guide on modeling basic elements.
Working with Views and Sheets in Your Revit 2025 Project
Revit 2025 automatically generates multiple views — floor plans, elevations, sections, and 3D perspectives — from a single model. Learning to manage these views effectively is key to maintaining clarity. Adjust view properties such as scale, detail level, and visibility to control the amount of information shown. Sheets combine your views into presentation-ready layouts. By placing plans, elevations, and 3D views on sheets, you can produce professional construction documents. Establishing a consistent naming convention for both views and sheets prevents confusion later. Remember, any change made to the model updates instantly across all sheets and views, eliminating repetitive editing and ensuring documentation accuracy.
Applying Families and Components
Revit’s power lies in its Families prebuilt or custom parametric components representing real-world objects like furniture, fixtures, and equipment. When starting a project from scratch, beginners should first explore the default Revit 2025 library. These families are optimized for performance and come with built-in parameters for flexibility. You can also import external families from trusted sources such as Autodesk Revit Content, RevitFamiliesHub, or BIMobject. Each component is datarich, meaning it contributes not only to visualization but also to quantity takeoffs, scheduling, and material analysis. Editing family parameters allows customization of size, type, and material without re drawing geometry. Mastering families early empowers you to build intelligent, adaptable designs that respond dynamically to project changes.

Best Practices for Saving and Collaboration
Good project management habits are vital from day one. Always use descriptive file names and save your work frequently. In Revit 2025, enable automatic backups and consider creating versioned files (e.g., Project_v1, Project_v2) to track progress. For team projects, use Revit’s worksharing feature it creates a central model that multiple users can access and synchronize updates to. Even if working solo, saving in structured folders (e.g., Models, Families, Exports) improves organization and reduces risk. BIM collaboration isn’t just about modeling it’s about managing data efficiently. Clear saving, naming, and synchronization practices ensure your project stays coordinated and error-free throughout its lifecycle.
Conclusion: Building Confidence with Your First Revit 2025 Project
By following these steps, you now know how to start a Revit project from scratch with Revit 2025. With a clear process choosing the right template, defining units and levels, creating grids, and systematically modeling elements you’ll lay a solid foundation for success. As you gain experience, you’ll naturally explore advanced tools like worksets, schedules, and renderings. Remember, the goal of your first project isn’t perfection it’s progress. Every time you open Revit and model something new, you’re building skills that will carry through your entire BIM career. Start simple, stay organized, and keep experimenting. By following this beginner’s guide, you’re already on your way to mastering Revit 2025 with confidence and precision