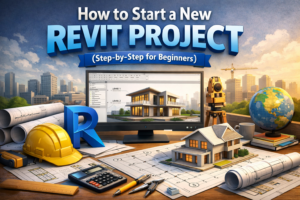
How to Start a New Revit Project (Step-by-Step for Beginners)
How to Start a New Revit Project the right way can save you hours—or even days—of rework later. Many beginners jump straight into modeling without proper setup, only to realize later that levels are incorrect, templates are messy, or views are poorly organized. In professional BIM workflows, a clean and well-structured Revit project setup is just as important as accurate modeling.
This guide walks you through how to start a new Revit project properly, from choosing the right template to setting up levels, grids, views, and basic project standards. Whether you’re a student, freelancer, or working professional, these steps will help you build a solid foundation for any Revit project.
Why a Proper Revit Project Setup Matters
Before clicking New Project, it’s important to understand why setup matters so much in Revit.
A well-organized project:
-
Reduces errors during modeling
-
Makes collaboration easier
-
Improves performance and file stability
-
Saves time during documentation
-
Looks professional to clients and employers
Revit is not just a 3D modeling tool—it’s a data-driven BIM platform. Every early decision affects schedules, drawings, and coordination later.
Why a Proper Revit Project Setup Matters
Before starting, you should know the two main ways to begin a project in Revit.
Project vs Project Template
Project File (.RVT)
A project file is where you do the actual work—modeling, detailing, and documentation.
Project Template (.RTE)
A template contains predefined settings like:
-
Units
-
View templates
-
Line styles
-
Object styles
-
Default families
For most professional work, always start from a template, not a blank project.

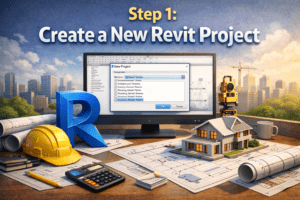
Step 1: Create a New Revit Project
Starting a New Project
-
Open Revit
-
Click New from the home screen
-
Choose Project
-
Select a template
-
Click OK
This simple step defines how clean—or messy—your project will be later.
Choosing the Right Template
Common default templates include:
-
Architectural Template
-
Structural Template
-
Mechanical / Electrical / Plumbing Template
-
Construction Template
Tip:
If you’re working on architectural modeling, always start with the Architectural Template. For BIM coordination projects, custom office templates are even better.
Step 2: Set Project Units Correctly
One of the most common beginner mistakes is ignoring units.
How to Set Units in Revit
-
Go to Manage → Project Units
-
Set:
-
Length (meters or millimeters)
-
Area (square meters)
-
Volume (cubic meters)
-
-
Adjust rounding and precision if needed
Why Units Matter
Incorrect units can cause:
-
Wrong dimensions
-
Scaling issues when importing CAD files
-
Confusion during quantity takeoffs
Always confirm units before modeling anything.

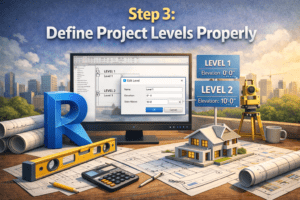
Step 3: Define Project Levels Properly
Levels control floor heights and vertical relationships in your model.
Creating and Editing Levels
-
Open an Elevation View
-
Use the Level tool
-
Set accurate heights (e.g., Ground Floor, First Floor, Roof)
Best Practices for Levels
-
Name levels clearly (e.g., “Level 1 – Ground Floor”)
-
Keep consistent vertical spacing
-
Avoid unnecessary levels
Why Levels Are Critical
Walls, floors, stairs, and rooms all depend on levels. If levels are wrong, your entire model becomes difficult to fix later.
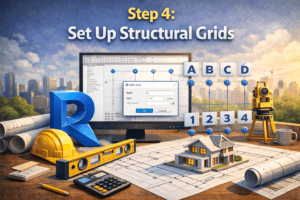
Step 4: Set Up Structural Grids
Grids help control alignment and structural coordination.
Creating Grids
-
Open a Floor Plan
-
Use the Grid tool
-
Place vertical and horizontal grids
Grid Naming Conventions
-
Numbers in one direction (1, 2, 3…)
-
Letters in the other (A, B, C…)
Grid Best Practices
-
Keep grids straight and aligned
-
Lock grids after placement
-
Use grids consistently across all levels
Grids are especially important for:
-
Structural models
-
Coordination with engineers
-
Large commercial projects
Step 5: Configure Project Location and True North
Many users skip this step, but it’s essential for real-world projects.
Setting Project Location
-
Go to Manage → Location
-
Set:
-
Project address
-
City and country
-
Time zone
-
Project North vs True North
-
Project North: Used for drawings
-
True North: Used for sun studies and site orientation
Set this early to avoid rotation issues later.

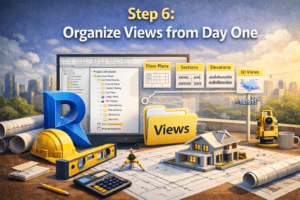
Step 6: Organize Views from Day One
A messy Project Browser can slow you down more than complex modeling.
Rename Default Views
Rename views clearly, for example:
-
Level 1 – Architectural Plan
-
Level 2 – Furniture Layout
-
Roof – Working Plan
Duplicate Views Correctly
Use:
-
Duplicate
-
Duplicate with Detailing
-
Duplicate as Dependent
Each option serves a different purpose—don’t duplicate randomly.
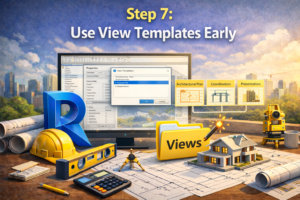
Step 7: Use View Templates Early
View templates control visibility, graphics, and scale.
Why View Templates Are Important
They ensure:
-
Consistent drawings
-
Faster setup
-
Fewer mistakes
Common View Templates
-
Floor Plan – Working
-
Floor Plan – Documentation
-
Elevation – Presentation
-
3D View – Coordination
Apply view templates as soon as views are created.
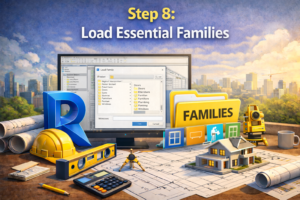
Step 8: Load Essential Families
Before modeling, load only the families you actually need.
Common Families to Load Early
-
Doors
-
Windows
-
Furniture
-
Plumbing fixtures
-
Annotation symbols
Why You Should Avoid Overloading Families
Too many families:
-
Increase file size
-
Reduce performance
-
Make family selection confusing
Load families as required, not all at once.
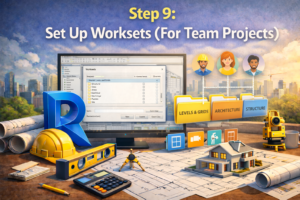
Step 9: Set Up Worksets (For Team Projects)
If you’re working with a team, worksets are essential.
Creating Worksets
-
Enable Worksharing
-
Create worksets like:
-
Architecture
-
Structure
-
MEP
-
Site
-
Workset Best Practices
-
Assign elements carefully
-
Avoid editing everything in one workset
-
Sync regularly
Even for small teams, worksets improve control and coordination.
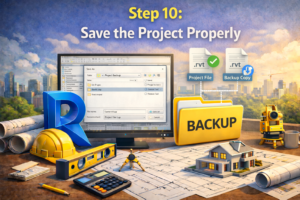
Step 10: Save the Project Properly
This sounds basic—but it matters.
Naming Convention Example
Example:
Save Location Tips
-
Avoid desktop or random folders
-
Use structured project folders
-
Enable automatic backups
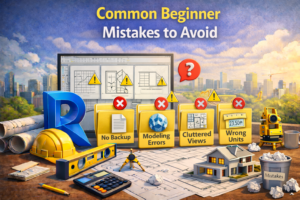
Common Beginner Mistakes to Avoid
Starting Without a Template
Always use a proper template—even a basic one is better than none.
Ignoring Levels and Grids
Fixing levels later is painful and time-consuming.
Poor View Organization
Unorganized views waste time and confuse collaborators.
Modeling Before Setup
Setup first, modeling second—always.
Final Thoughts: Build the Habit of Proper Setup
Starting a new Revit project is not just about clicking New Project. It’s about making smart decisions early that support the entire lifecycle of the model—from concept to construction documents.
Professionals don’t work faster because they rush. They work faster because their project setup is clean, organized, and intentional.
If you master this process, every Revit project you start will feel easier, cleaner, and more professional.