Mastering Ceiling Creation in Revit
Ceilings are often overlooked compared to floors, walls, and facades, but in real buildings, they serve an essential purpose. From holding lighting and air systems to sprinklers, access panels, and acoustic treatments, ceilings quietly support both building performance and interior design. Mastering Ceiling Creation in Revit helps ensure these elements are modeled accurately while enhancing the overall look and functionality of interior spaces.
Mastering Ceiling Creation in Revit is essential for producing accurate, well-coordinated BIM models. Proper ceiling modeling improves lighting layouts, simplifies MEP coordination, and ensures reliable documentation from early design stages through detailed construction drawings.
Why Ceiling Modeling Matters in Revit
Inside Revit, the ceiling tool is more powerful than it first appears. When mastering ceiling creation in Revit, you can model everything from simple flat ceilings to complex, multi-layered systems that work seamlessly with lighting grids and mechanical services. Whether it’s decorative soffits or large commercial plenum areas, Revit gives designers the flexibility to create ceilings that match real-world construction.
That said, ceiling modeling can feel overwhelming at the beginning. Deciding when to use automatic ceilings, when to switch to sketch ceilings, how to control ceiling heights, and how to coordinate with MEP elements all require a clear and organized workflow. With the right approach, these challenges become much easier to manage.
This guide focuses on practical ceiling creation in Revit, helping you model ceilings with confidence and accuracy.

Mastering Ceiling Creation in Revit Made Easy
The ceiling tool is located in the Architecture tab, and its main purpose is to create ceiling elements based on room boundaries, levels, or custom sketches. Unlike floors, ceilings are usually defined using the inside faces of walls, which makes boundary control especially important.
Ceilings in Revit may represent:
-
Gypsum board ceilings
-
Acoustic tile ceilings (ACT)
-
Exposed structural ceilings
-
Wooden or metal feature ceilings
-
Floating ceiling clouds
-
Plenum and service zones
Each ceiling type has different modeling requirements, and Revit supports them through multiple creation methods.

Automatic Ceilings vs. Sketch Ceilings
Revit provides two primary ways to create ceilings. Knowing when to use each method is key to efficient Revit ceiling modeling.
Automatic Ceilings – Fast and Efficient
When mastering ceiling creation in Revit, automatic ceilings offer the fastest way to add ceilings in fully enclosed rooms. Revit automatically reads the room boundaries and places the ceiling using the interior faces of the walls, saving time and reducing manual work.
How automatic ceilings work:
-
Go to Architecture > Ceiling
-
Select Automatic Ceiling
-
Hover inside a room
-
Click to place the ceiling
This method is ideal for standard spaces with simple geometry.
Best use cases:
-
Bedrooms
-
Offices
-
Bathrooms
-
Kitchens
-
Corridors
-
Meeting rooms
Limitations of Automatic Ceilings
Automatic ceilings rely on clean, closed room boundaries. They struggle with:
-
Irregular or open layouts
-
Stepped or sloped ceilings
-
Soffits and recesses
-
Custom cutouts
When flexibility is required, sketch ceilings are the better choice.

Sketch Ceilings – Full Control and Flexibility
Sketch ceilings allow you to manually draw ceiling boundaries using Revit’s sketch tools. Instead of relying on room edges, you define the shape yourself.
How to create a sketch ceiling:
-
Go to Architecture > Ceiling
-
Choose Sketch Ceiling
-
Draw the boundary using lines or arcs
-
Set the height offset
-
Finish the sketch
Where Sketch Ceilings Are Essential
Sketch ceilings are best for:
-
Irregular room shapes
-
Open-plan spaces
-
Feature ceilings
-
Ceiling clouds and floating elements
-
Areas with heavy MEP coordination
They provide complete control over geometry and openings.
Ceiling Types and Construction Accuracy
Just like walls and floors, ceilings in Revit use predefined types that can be customized.
Common ceiling types include:
-
Gypsum board ceilings
-
Acoustic tile ceilings (ACT)
-
Metal panel systems
-
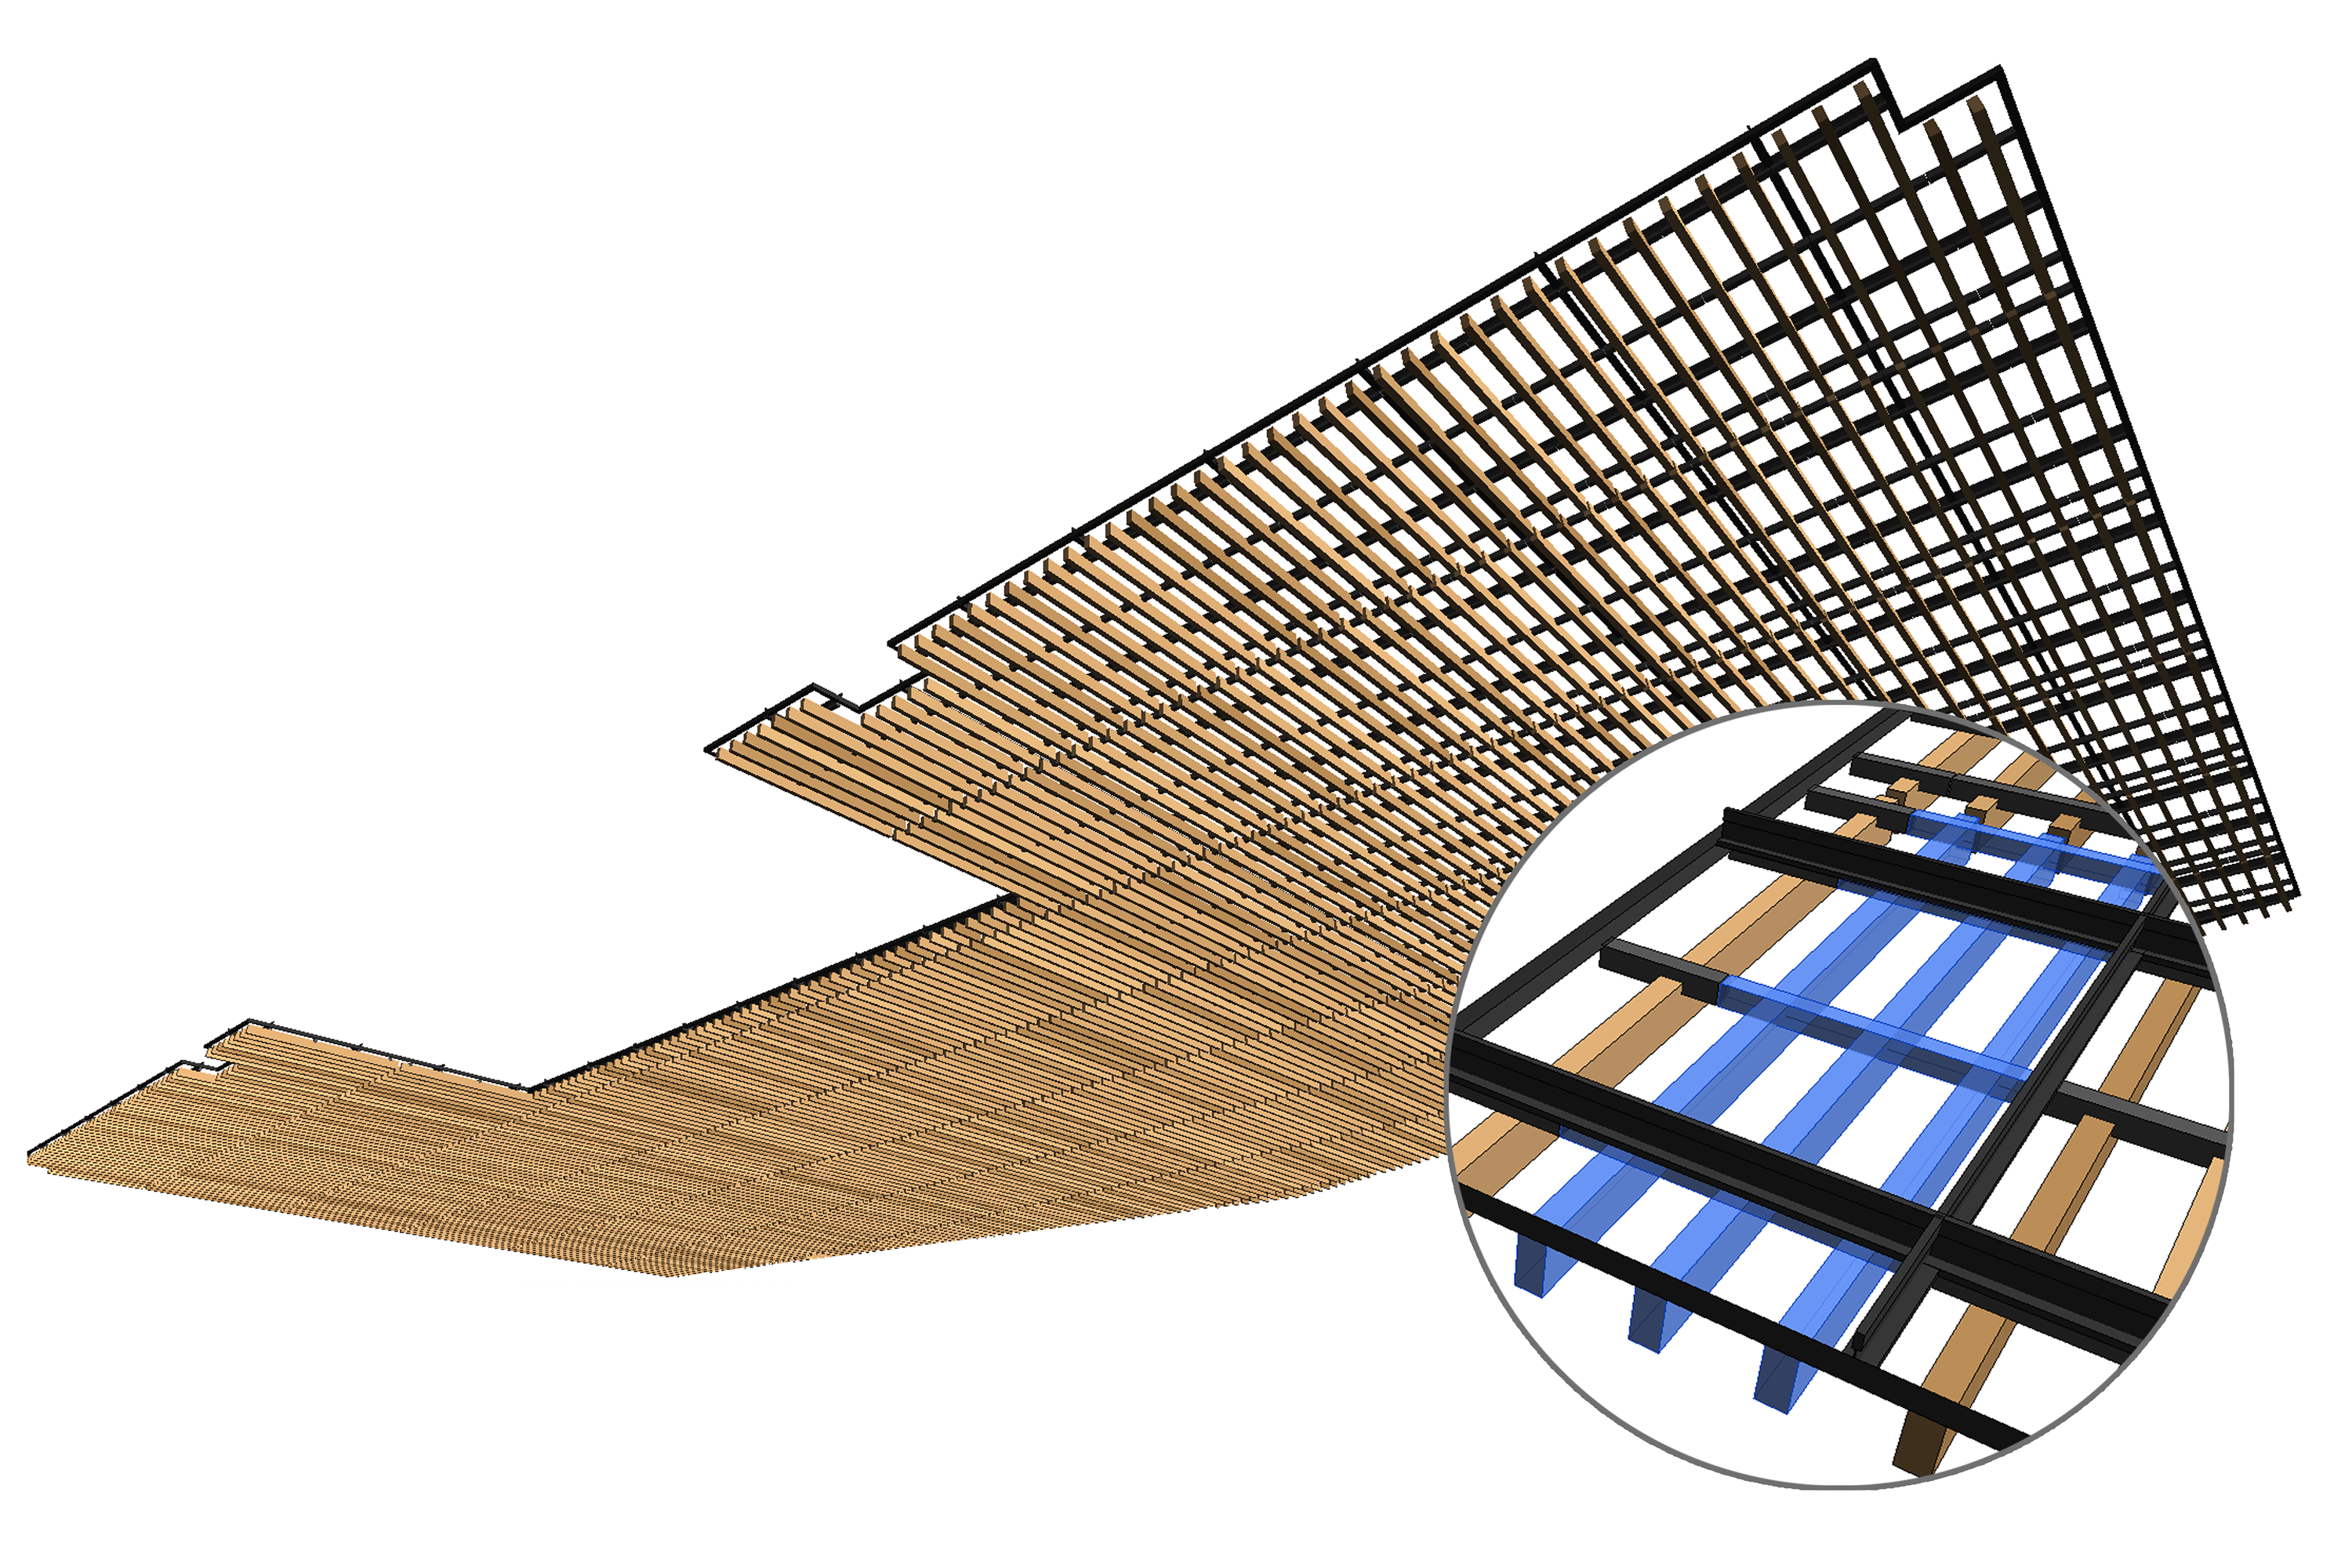
Wood slat ceilings
-
Exposed ceilings
-
Suspended ceiling clouds
Editing ceiling types ensures that sections, schedules, and renderings reflect real construction assemblies.
Managing Ceiling Heights and Constraints
Ceilings are controlled using the Height Offset from Level parameter. This keeps ceilings linked to levels rather than floating freely.
Typical examples:
-
Office spaces: 2.7 m
-
Corridors: 2.5 m
-
Lobbies: 3.2 m
Using level-based heights makes design changes much easier later in the project.

Lighting Layouts and Ceiling Coordination
Ceilings play a central role in lighting design. Most light fixtures, sensors, and diffusers are hosted on ceilings in Revit.
Benefits of Ceiling-Hosted Lighting
-
Fixtures move automatically with ceiling changes
-
Lighting stays aligned with ceiling grids
-
Coordination with MEP improves
-
Design updates are faster and cleaner
A well-modeled ceiling makes lighting layouts far more reliable.
Grid Ceilings and ACT Systems
Grid ceilings are common in offices, hospitals, and commercial buildings. Revit supports ACT systems with built-in grid layouts.
Controlling Grid Orientation
When Mastering Ceiling Creation in Revit, grid patterns can be easily rotated or shifted without affecting the ceiling boundary. Aligning grids with room geometry and lighting layouts creates a cleaner look and improves overall visual consistency.
Aligning Grids with Fixtures
Professional workflows often align grids with:
-
Room centerlines
-
Corridor widths
-
Lighting rows
-
Window mullions
This results in cleaner interiors and better coordination.
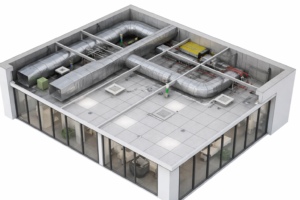
Coordinating Ceilings with MEP Systems
Ceilings form the boundary between architectural and MEP systems. Early ceiling modeling helps engineers align ducts, sprinklers, and lighting correctly.
Common ceiling-related MEP elements include:
-
Air diffusers
-
Return grilles
-
Sprinklers
-
Smoke detectors
-
Speakers and sensors
Coordination views, sections, and 3D checks help identify clashes early.

Common Ceiling Problems and How to Fix Them
-
Ceiling won’t place: Room is not enclosed
-
Lights detach: Fixture is not ceiling-hosted
-
Grid misalignment: Use reference planes
-
Ceiling not visible: Check view range
-
Ceiling disappears: Switch to sketch ceilings
Conclusion – Ceilings Deserve More Attention
Ceilings may seem simple, but they have a major impact on coordination, lighting, and overall model quality. Understanding ceiling creation in Revit—knowing when to use automatic or sketch ceilings, managing grids, and coordinating with MEP systems—leads to cleaner, more professional BIM models.
Whether you’re working on a small residential interior or a large commercial project, mastering ceiling creation in Revit is an essential skill for accurate and efficient design.